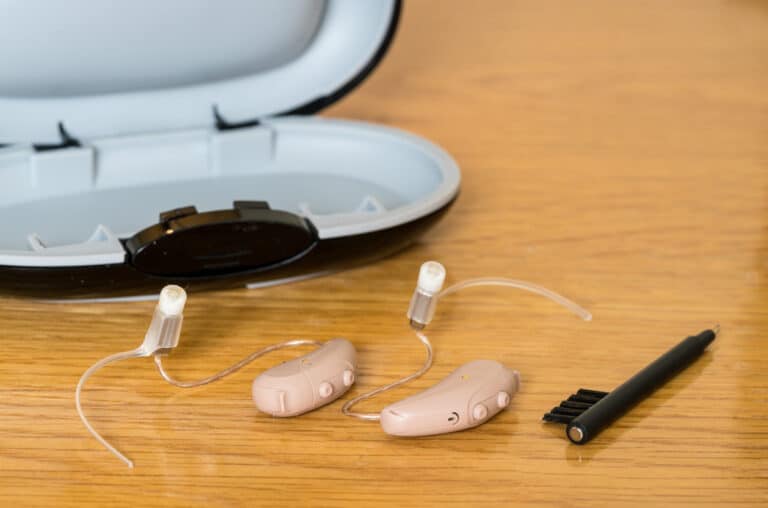
Regularly cleaning your hearing aids is essential for maintaining their performance and extending their lifespan. Follow this simple step-by-step guide to keep your devices in top condition.
Step 1: Gather Your Cleaning Tools

Before you start, ensure you have a soft cloth, a small brush (often included with hearing aids), a wax removal tool and a storage case. Avoid water or cleaning agents, as these can damage the electronics.
Step 2: Wipe Down the Exterior
Use a soft, dry cloth to gently wipe the surface of your hearing aids. This removes oils, dirt and debris that accumulate throughout the day.
Step 3: Clean the Microphone and Speaker Ports
Carefully inspect the microphone and speaker openings. Use a small brush to remove buildup, holding the hearing aid upside down so loose particles fall out instead of in.
Step 4: Check for Earwax
Use the wax removal tool to clear any blockages from the receiver or sound opening. Be gentle to avoid pushing wax further into the device.
Step 5: Store Properly
When not in use, store your hearing aids in their designated case. Consider using a dehumidifier case to remove moisture and prevent damage.
Along with regular at-home cleanings, you should take your hearing aids in for professional cleanings every six months to ensure they continue to work as best as possible. Get in touch with SH Audiology today if it’s time for a clean and check appointment.
